
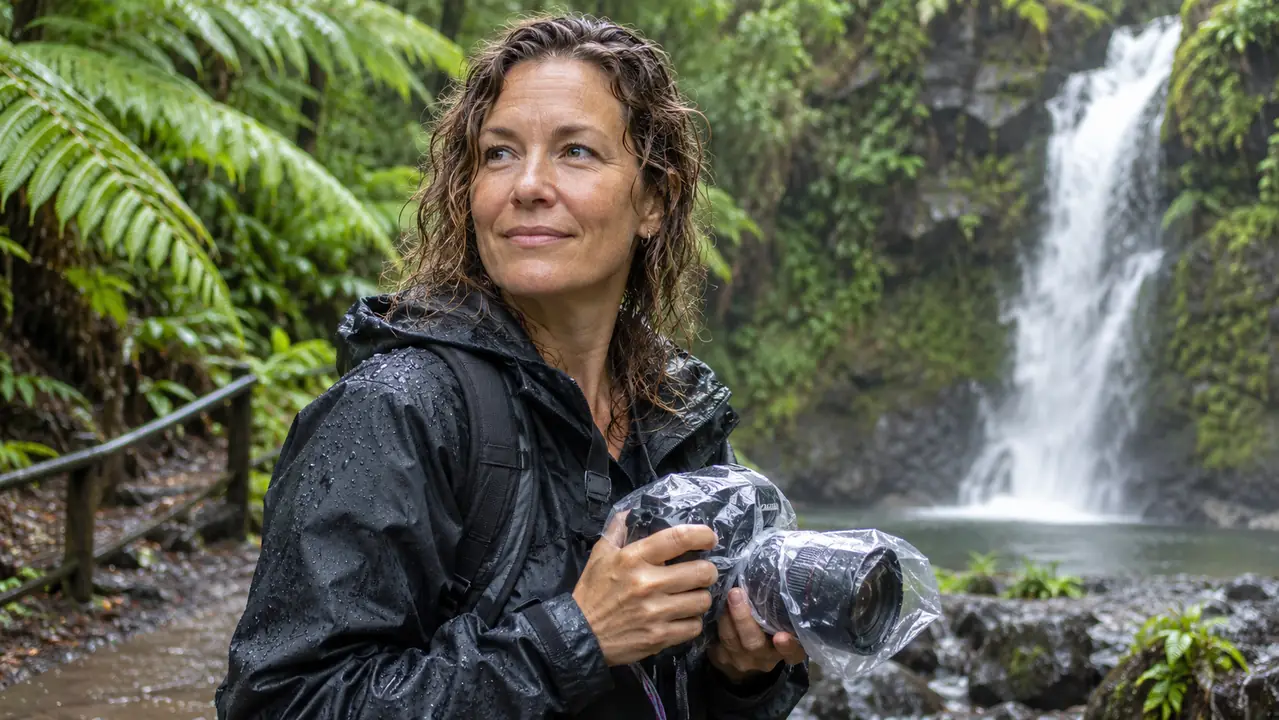
It rains here most weeks of the year. I live on the windward side of the Big Island, and the basalt on the way to Rainbow Falls stays slick more often than it stays dry. For the first eleven of my twelve years shooting, my answer to rain was a plastic grocery bag and a rubber band. It worked about as well as it sounds. The bag flapped in the wind and slapped the lens, the inside fogged, and one Saturday morning I shot forty frames through a crease that put a soft blur across every single one of them.
What replaced it is not fancy and it is not expensive. It is a clear plastic sleeve that goes over the camera and the lens, and it lives folded in the front pocket of my sling bag next to the lens cloth. The OP/TECH USA Rainsleeve, two to a pack, bought in January 2025. I have used it for about 22 months. The first real outing was a rainy Saturday at Rainbow Falls that same January, and I came home with dry gear and usable frames for the first time in a wet season. Here is the routine I have settled into, in the order I actually do it.
Two sleeves in the pack, so one can dry while the other works
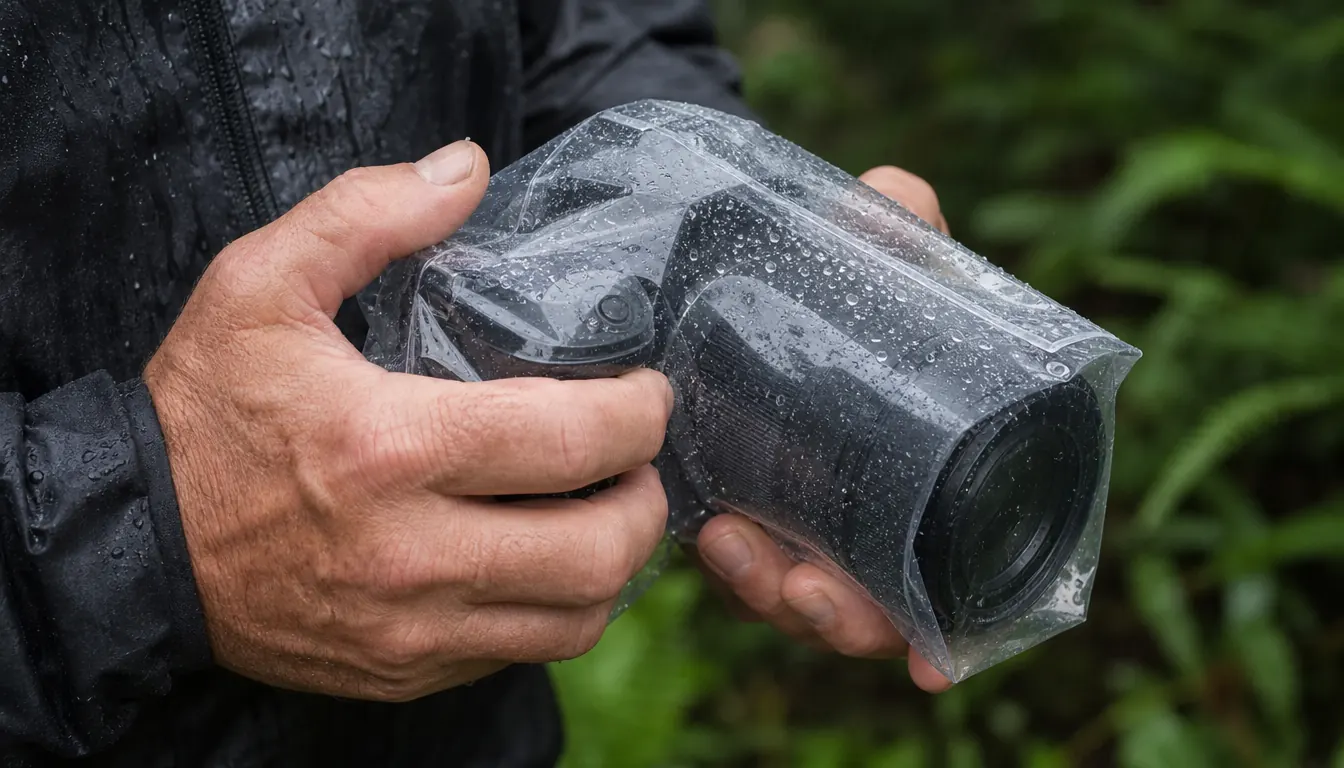
The OP/TECH USA Rainsleeve is a clear plastic sleeve that goes over the camera and lens, with the controls visible and the viewfinder accessible. The small size fits setups up to 4.5 inches in diameter and 8 inches long, and each one folds flat into a bag pocket.
Amazon Check Today's Price on Amazon →Step 1: Decide What Rain You Are Actually Willing to Shoot In
Not all rain is the same problem, and treating it that way is how people talk themselves out of good photographs. My own rule is roughly this. Mist and drizzle, I go, no debate. Steady rain, I go if I am within fifteen minutes of the car. Wind-driven downpour, I stay home and photograph Pika in the window light, because that is a fight I will lose and my gear will pay for the loss.
The reason to go is not stubbornness. Overcast rain light works like one enormous softbox. It knocks the contrast down on moving water so the white parts stop blowing out, it saturates every green in the frame, and it empties the trails. Akaka Falls on a wet Tuesday morning is a different place from Akaka Falls at noon on a Saturday, and the difference has nothing to do with the falls. The best frame I have of the water at Rainbow Falls came from a grey Saturday last March, when the flow was heavy and the spray was doing half the work for me. The same scene under a blue sky flattens into a postcard.
The decision gets made in my kitchen at around 6:20 in the morning, weather app open, coffee going. I look at two things: the radar loop and the rain gauge on the fence post by the lanai, a cheap plastic thing Dale mounted years ago and which I now check before I check anything else. If the gauge says a quarter inch overnight and the radar shows a break coming, I am going. If the radar shows one solid band with no gap in it, I am not, and I shoot Pika in the window light instead. What tips it toward yes more often than it used to is that the gear question is already answered. The sleeve is in the bag. Nothing to dig for, nothing to assemble, no good reason to leave the camera at home because the sky looks grey.
Step 2: Put the Sleeve On While You Are Still Dry
This is the step people skip, and it is the one that decides the morning. Do not park, walk to the trailhead, and then try to wrestle a plastic sleeve over a camera in the rain. Do it in the car. Engine off, door open, gear on the back seat, camera already out of the bag and the lens already mounted. The sleeve goes over the whole thing there, while your hands are dry and the camera is dry. I do it in the same order every time: lens cap off, hood on, camera strap over my neck first, sleeve second. Put the sleeve on before the strap and you will be threading a strap through plastic in a parking lot, looking exactly as silly as that sounds.
Sizing matters more than most people expect. The small OP/TECH USA Rainsleeve is built for camera and lens setups up to 4.5 inches in diameter and 8 inches long, which is the compact end of the range. My everyday 24-105mm zoom sits inside that comfortably, with room left to turn the zoom ring. When I bring the 70-300mm for birds at the feeder, I check the length against that 8 inch figure before I zip the bag. A lens that pokes out the far end defeats the entire point. I learned that the harmless way, on the kitchen table with a tape measure, rather than the hard way at the top of a trail.
The whole sleeve weighs about 27 grams and folds flat. It adds no bulge, needs no case of its own, and does not rattle against the tripod. That sounds like a small thing until you have carried a rigid rain housing up a trail one time and then quietly retired it to a shelf.
Step 3: Learn the Controls Before You Need Them
The clear material is the reason this works at all. You can see the top plate and the rear screen, and the sleeve leaves the viewfinder accessible at the back. What it does not give you is a new set of buttons. It is a sleeve, not a housing. You operate the camera exactly the way you always do, through one layer of plastic, and that takes a small amount of practice.
So practice somewhere it does not matter. I spent one afternoon on the lanai with the sleeve on, photographing Mochi behind the screen door, fumbling for the shutter and the rear dial like a beginner. Twenty minutes of that in dry weather saved me an hour of swearing at Onomea Bay later. Three things surprised me. The half press on the shutter takes a little more intention through the plastic. The zoom ring is easy, because it is big and your whole hand finds it. The rear dial is the one that will catch you out, and it will catch you out at the exact moment you are trying to change a setting in a hurry.
I also changed how I hold the camera. Left hand under the lens instead of on top of it, because on top is where the plastic bunches up and where your thumb ends up pressing the focus ring without meaning to. A few settings get locked in before the camera goes into the sleeve: ISO, drive mode, and focus mode. Anything that would normally send me into a menu is worth settling in the car, because menu diving through plastic in a drizzle is nobody's idea of a good morning, and the light you are chasing will not wait for it.
Step 4: Watch the Front Element and Fight the Fog
Water landing on the outside of the lens is the obvious problem. Fog is the one that actually ruins mornings here, because our humidity does not negotiate. Carry a cold camera out of an air conditioned car into warm wet air and the front element hazes over, and no cover on earth will prevent it.
Two habits handle most of it. Let the camera equalize, which means leaving it in the bag for the first ten minutes at the trailhead instead of pulling it straight out. And do not wipe the glass with your shirt hem. That turns a droplet into a smear every time. The blower and one microfiber cloth from my cleaning kit live in the sling bag for exactly this, and the blower does more work than the cloth does.
One more rule with no exceptions: do not change lenses in the rain. The sleeve protects the camera that is inside it. It cannot protect an open mount. Pick the lens in the car and live with the choice you made.
Two sleeves, twenty two months, and the only thing that has ever gotten wet is me.
Step 5: Dry Everything on Purpose When You Get Home
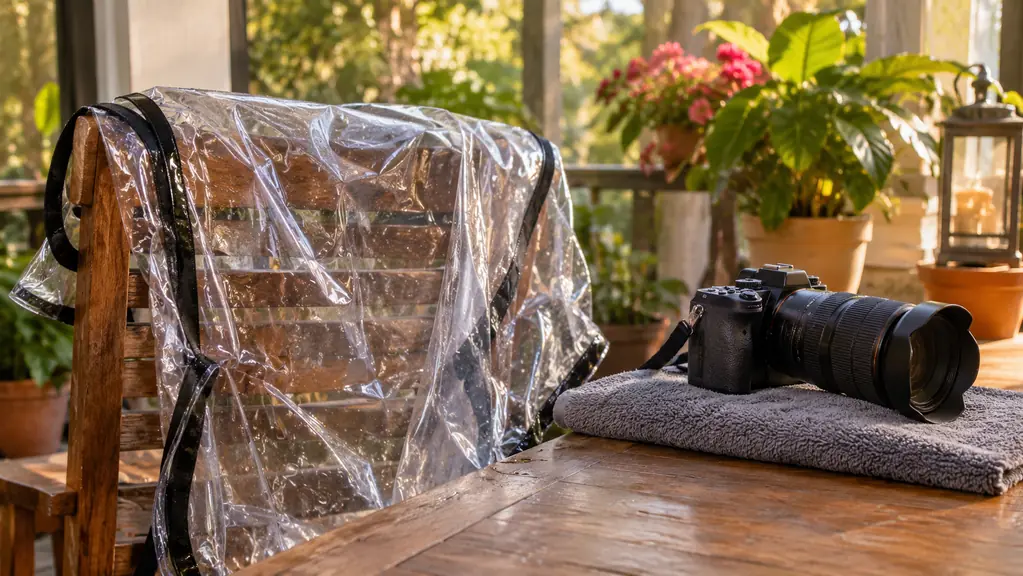
The shoot is not finished when you reach the car. It is finished when the gear is dry. I unfold the sleeve, shake the water out, and drape it over the back of a chair on the lanai. It air dries in about an hour, and because they come two to a pack, the second one is already in the bag for the next wet morning.
The camera comes out of the sling bag the moment I walk in the door. I learned that the boring way. Two winters ago I came home tired, set the whole bag down in the hall closet, and did not open it again until Wednesday. The camera was fine. The bag smelled like a wet dog for a week, and the lens cloth in the front pocket had gone musty enough that I threw it out. Bag fabric holds moisture, and a camera left sealed inside a damp bag overnight is how you end up with something growing on a lens coating. Now I wipe the body and the barrel with a dry cloth, leave the battery and card doors closed, and let everything sit on the counter with air moving around it. Dale has learned not to move it.
Then I check the front element under a lamp. A dried water spot looks exactly like a scratch until you clean it, which is a genuinely bad minute if you forget. Blower first, cloth second. If the sleeve is still damp when I go to bed, it stays on the chair and the spare goes in the bag, which is the entire reason I keep two in rotation instead of one.
What Else Helps
The sleeve solves the water that lands on the camera. A few other things in the bag solve the rest of the morning.
The tripod matters more in rain than it does in sun, because rain means low light, and low light at a waterfall means slow shutter speeds. My carbon fiber tripod does not fit in the sling bag, so it rides by hand or over the shoulder on its strap, and it is what makes a half second exposure at Onomea Bay possible at nine in the morning under cloud. Handheld, that same frame is either two stops underexposed or soft enough that I delete it at home.
The sling bag does quieter work. The listing calls it weatherproof, coated nylon, and I do not treat that as waterproof, because I have met weather. It handles splash and spray on the walk in. The sleeve handles the actual rain on the gear. Those are two different jobs and it helps to keep them straight.
Small things earn their place too. A hand towel behind the seat of the SUV for wet hands and a wet lens cap. The lens cloth in the front pocket, within reach without opening the bag all the way. And the fact that the OP/TECH USA Rainsleeve carries a lifetime warranty against defects in materials and workmanship, which for a folded piece of plastic is a fair thing to lean on.
One in the bag, one drying on the lanai
A wet season is a lot of Saturdays. Two sleeves per pack means you are never waiting on one to dry before you can shoot again, and the clear material keeps every control exactly where you left it.
Amazon Check Today's Price on Amazon →