
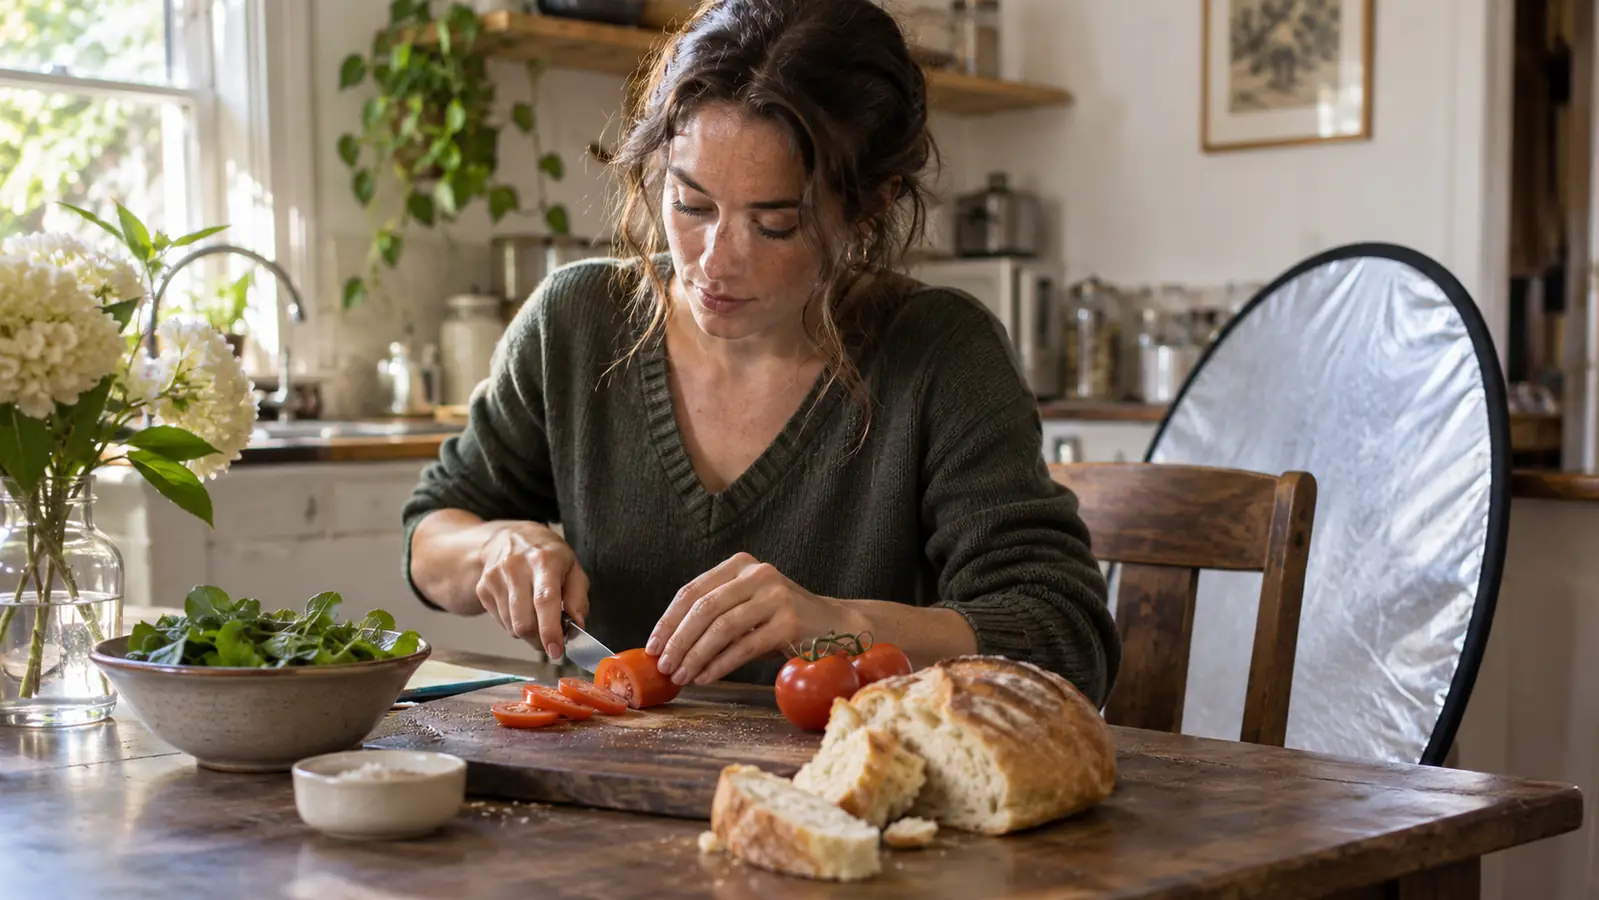
I have taken a lot of food photos at my own kitchen table, and for years most of them had the same flaw. One side of the plate sat in soft window light. The other side fell into a brown shadow that made the tomatoes look like they were melting into the wood. I blamed the lens, then the camera, then the weather, which in Hilo is a reasonable thing to blame for almost anything.
It was not the lens. A kitchen with one window in it gives you exactly half a photo, because light travels in one direction and only one direction. What fixed it for me was a Neewer 43 inch 5 in 1 reflector I bought in April 2025, a folding disc that has lived behind my pantry door ever since. Before that I propped up a sheet of white foam board from the craft store. The foam board worked in the way a milk crate works as a chair. It was four feet wide, it dented if you looked at it wrong, and the cats used it as a scratching post. The Neewer disc folds down to about sixteen inches, weighs a pound and a half, and comes with its own zip bag, so it stopped being furniture and started being gear. What follows is the sequence I actually run now, from setting a plate down to pressing the shutter.
The disc that turned my one-window kitchen into a two-light setup
Neewer 43 inch 5 in 1 reflector. Five surfaces on one folding disc, a pound and a half in the hand, and it packs down into its own zip bag. Same one I have been unfolding on my kitchen table since April 2025.
Amazon Check Today's Price on Amazon →Step 1: Find the Window and Decide Which Side Loses
Set the plate down and look at it before you touch the camera. You want the window off to your left or off to your right. Not behind the food, which puts you shooting into the light with everything in front of you sunk in shadow. Not behind you either, because straight on light is flat and the plate ends up looking the way a passport photo looks. This costs you nothing and it decides the whole shoot.
Side light is what makes food look like food. It skims across the surface, catches the rim of a bowl, puts a bright edge on a tomato and a soft falloff on everything behind it. The tradeoff is that side light always leaves a shadow side, and the shadow side is where most home food photos die. On my table the window is on the left, so the right side of the plate is always the one that falls off. I know that before I set anything down.
That is your target. The shadow side is not a mistake you fix with a different lens. It is the half of the picture the reflector exists to fill.
Before I bring anything in, I hold my hand up on the shadow side and look at how dark it actually goes. If I can still see the grain of the wood underneath, the fill needs to be gentle. If it is a black hole with no detail at all, I need the disc close and I need to think about which surface I am using before I start.
Step 2: Put the Reflector Close on the Shadow Side
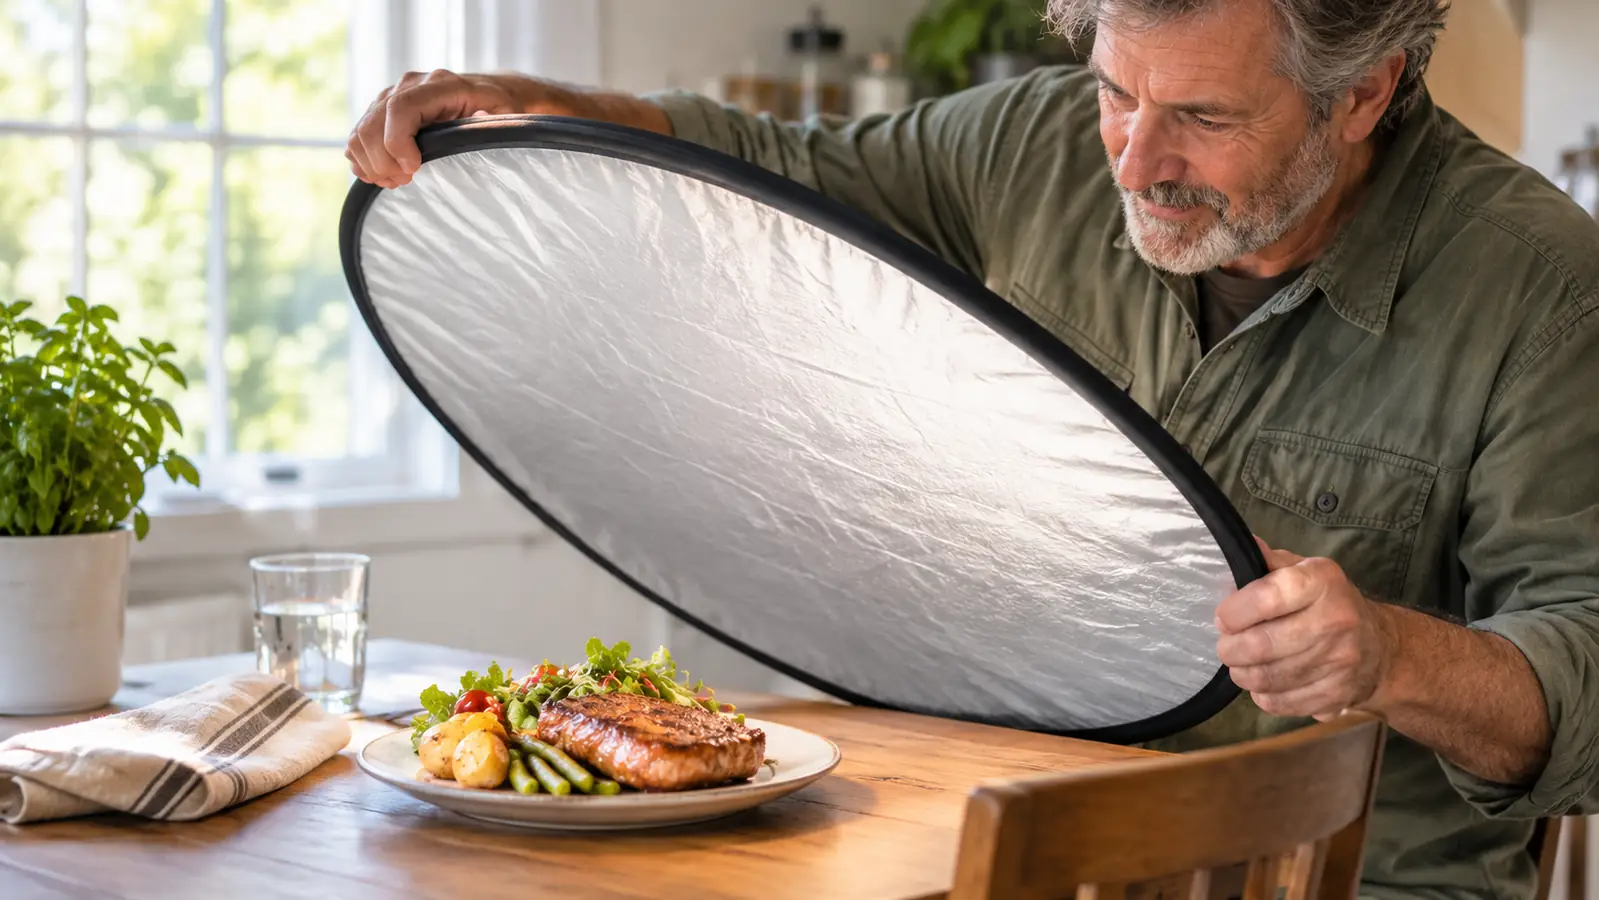
Close is the entire trick, and it is the step people skip. A reflector three feet away does almost nothing. Light falls off fast with distance, so a bounce that starts weak gets weaker in a hurry. I put the disc a foot to eighteen inches from the plate, tipped slightly back toward the food so it catches the window and throws that light sideways across the shadow.
The Neewer disc is 43 inches across and weighs a pound and a half, so holding it in one hand while shooting with the other is possible but not pleasant. I lean the bottom edge against the back of a chair or tuck it behind a cereal box so both hands are free. It is not water resistant, so when there is a pot of steam going near the sink I keep it back a little and wipe it down afterwards.
When the shoot is over it folds down to roughly sixteen inches across and an inch and a half thick, and it goes back in the zip bag it ships with. Once you learn the twist it takes two seconds, and the bag sits flat behind the pantry door instead of owning a corner of a closet.
The first time I did this properly I laughed out loud at the back of the camera. Same plate, same window, same lens, and the right side of the food came back. Not bright. Just present, which is all fill is ever supposed to do.
Step 3: Choose the Surface That Matches the Light You Have
The Neewer disc comes with five surfaces and they are not interchangeable. White is the gentle one. It lifts the shadow side without adding a second visible light source, which is what I want nine times out of ten. Silver is the strong one, bright and slightly cool, and it adds specular highlights, the little hard glints on a wet tomato or the glaze on a pastry. I start with white, and I switch to silver when the shadow side is too dark to recover or when I specifically want shine on something.
Gold warms everything it touches. On a gray rainy morning in Hilo that can be exactly right. On a plate of brown food it can go orange fast, so I use it sparingly and check the result afterwards. Black does the opposite job, it blocks stray light, so if a bright patch of wall or a shiny backsplash is pulling the eye away from the plate, black on that side kills it. Translucent turns the disc into a diffuser. Held between the window and the food, it turns hard midday sun into the soft light you get on a cloudy day.
When I cannot decide, I shoot the same plate three times, once with white, once with silver, once with gold, and compare on the back of the camera instead of guessing. It takes ninety seconds and it ends the argument. If you only ever use one surface, use white. Nobody has ever looked at a food photo and wished the shadows were deeper and emptier.
A reflector three feet away does almost nothing. At a foot and a half it is a second window, and it costs you one lean of the wrist.
Step 4: Aim the Fill at the Food, Not at the Ceiling
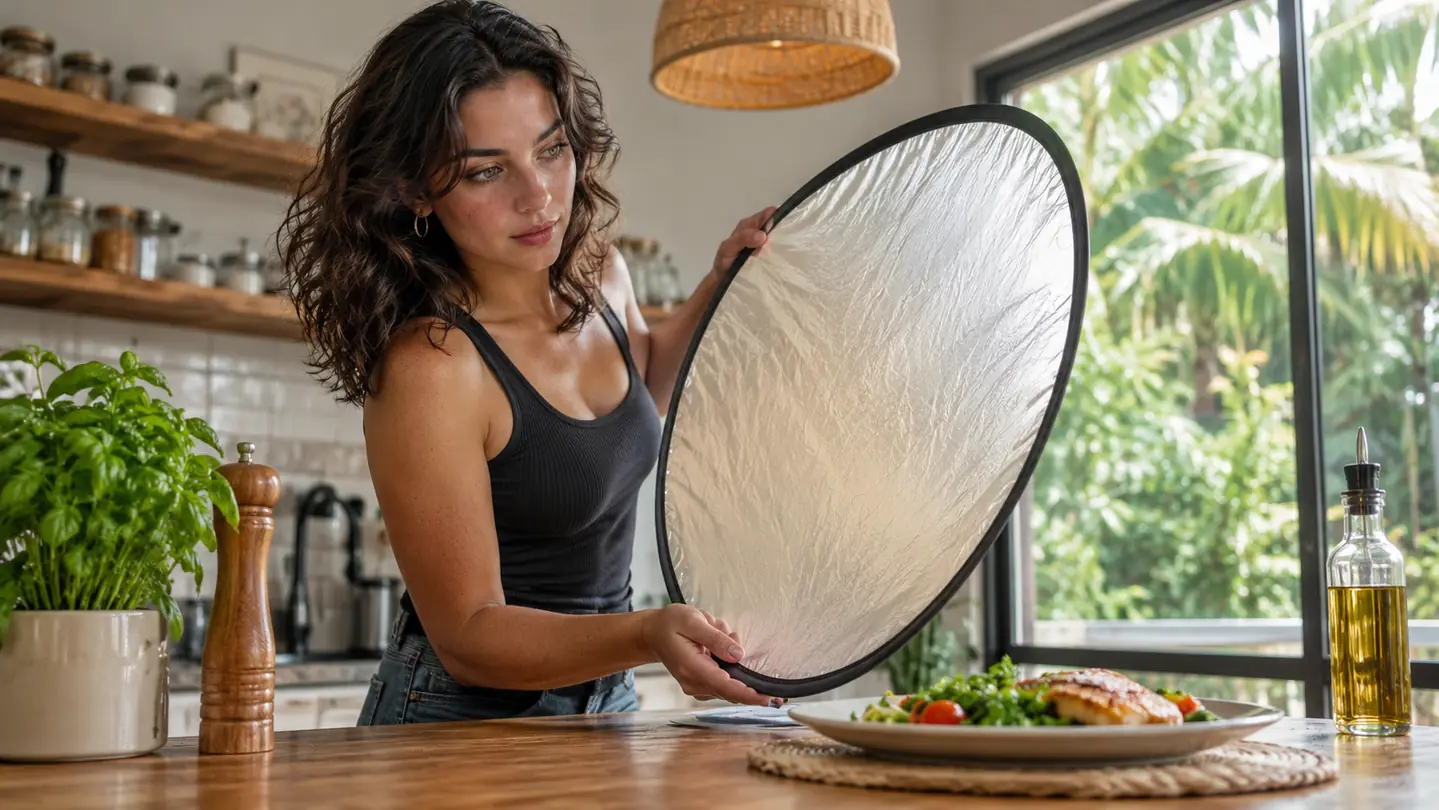
Where the bounce points decides whether it reads as fill or as a second light. Aim it at the shadow side of the subject, at roughly plate height or a touch above. Point it down from overhead and it stops being fill and becomes a second key light, which flattens everything. Point it up and you are lighting the ceiling fan.
The check I use is the shadow under the plate. If that shadow has gone completely flat while the background is still dark, the bounce is coming in too low or too strong. Lift it a few inches, or angle it slightly past the subject so only the edge of the bounce lands on the food. Feathering like that is how you get a soft gradient instead of a bright stripe down one side of a tomato.
The same aiming rule applies when I use the disc on the cats by the window, which I do more often than I expected. Mochi is a black cat who will sit in a bright doorway and produce a lovely rim of light on one side and nothing at all on the other, and the disc pulled in low and feathered does more for him than any setting on the camera. Pika, who is a gray tabby and considerably less cooperative, tends to walk into the frame and sit on the disc instead.
Small moves matter here. Two inches of tilt changes the look more than a different lens would, and it is free.
Step 5: Kill the Hot Spot Before You Change Anything Else
Silver up close will put a bright edge on the shadow side, and that edge is usually the first thing to go wrong. When the fill side ends up brighter than the window side, the photo looks lit by two lights that were not talking to each other. Swap to white, or move the disc back four or five inches, or feather it. Do not touch the exposure. The exposure was fine.
Then look at everything else the bounce is hitting. It lights the plate, and it also lights the napkin, the back of the chair and the wall behind the food. Sometimes that is fine. Sometimes it drags the eye to a bright corner and away from the food, which is the one thing you did not want. Black on the wall side fixes that in a second.
Watch the edge of the disc in the frame as well. At a foot and a half away, shot wide, it creeps into the corner of the picture more often than you would think. Zoom in a little or shift the disc back behind the line of the plate and it disappears from the shot while still doing its job.
Last check before the shutter. Has the light changed? Clouds move, and a shadow that was open two minutes ago can be flat now. Reset if it has.
What Else Helps
The surface under the plate does nearly as much as the reflector. A dark wood board or a matte cloth eats stray bounce and makes the food the brightest thing in the frame. A white plate on a white counter gives you nothing to separate the food from the background, and no amount of fill will fix that. I also turn the kitchen overhead light off for food photos. It is a different colour from the window, it puts a second set of shadows in the frame, and once you notice them you cannot unsee them.
Time of day matters more than gear. The window at my kitchen table is best mid-morning and again around four, and close to useless at noon when the sun is straight overhead and hard. On the days it rains, which is often on this side of the island, I set up inside the sliding door instead and let the translucent surface do the softening. Same five steps, slower pace, and a towel over the camera bag.
If you already own a piece of white foam board, use it until you are sure you want to keep going. The reason I switched was not the quality of the bounce. It was that the foam board could not be folded, could not be wiped clean, and could not be tucked behind a door.
One more thing nobody mentions. Keep the Neewer disc in its bag rather than loose in the car. The rim is steel and the whole thing folds, so a bent edge is the only realistic way to spoil it. Mine came with a 180 day warranty and I have never needed it, because it has spent nineteen months either on the table or in the bag behind the pantry door.
One good side and one dead side is not a lens problem
Fold the disc out, set it a foot and a half from the plate, aim it at the shadow. Five surfaces on one tool, its own bag, and it folds flat enough to live behind a door.
Amazon Check Today's Price on Amazon →