
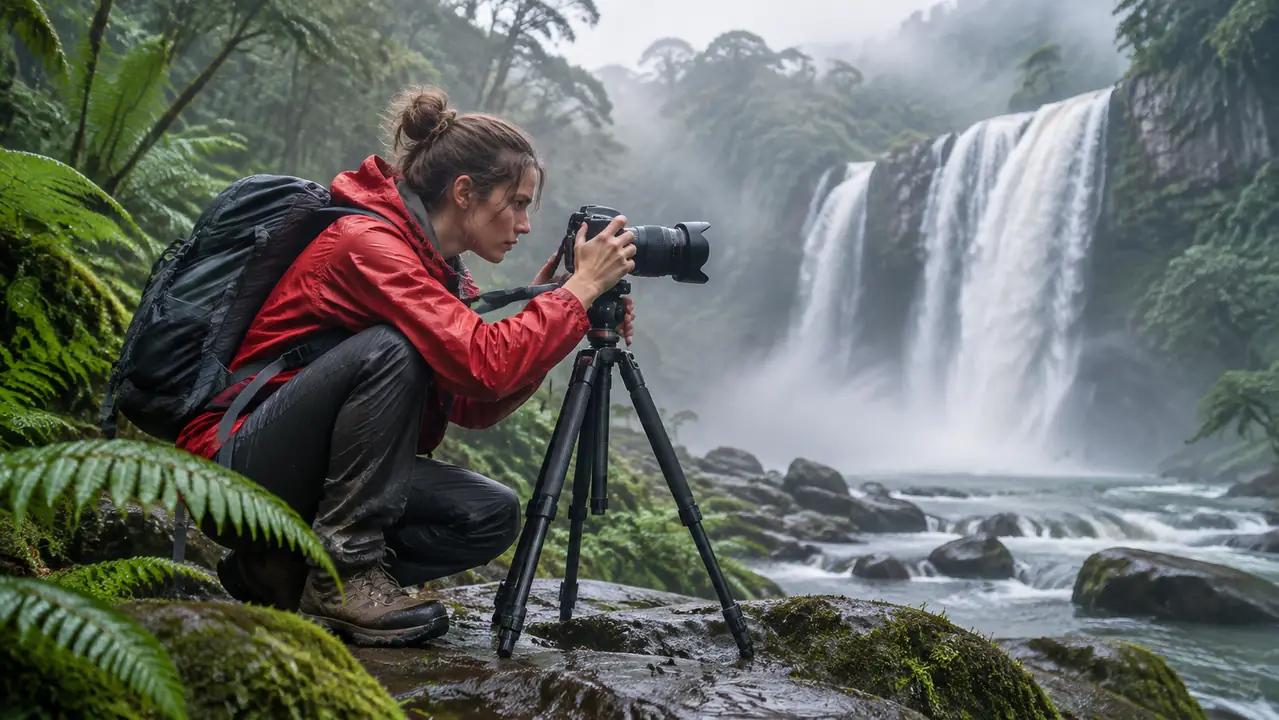
The first time I tried to photograph Akaka Falls the way I had it in my head, I got a frozen white smear. In person the water comes down in this soft, continuous ribbon. On my screen it was a hard, choppy, milk colored mess with a thousand little gaps in it. I stood on the boardwalk for twenty minutes convinced something was wrong with the camera. Nothing was wrong with the camera.
What was wrong was that I was holding it. The look most of us want from a waterfall, that silky, painting-like blur, comes from leaving the shutter open long enough to gather motion, usually somewhere between a quarter of a second and two full seconds. Nobody holds a camera still that long. Not you, not me, not the guy with steady hands and one lucky frame. You need something to put the camera on. For me that something is the Neewer N55C carbon fiber tripod, bought in March 2025 and carried to Rainbow Falls and Onomea Bay more Saturday mornings than I can count. It is the first and only tripod I have owned, so I will not pretend I have compared it against fifteen others. I can tell you what twenty months of real use taught me about actually getting the shot.
The piece of gear that turned my white smears into silk
This is the tripod I shoot every long exposure on, from the boardwalk at Akaka to the rocks at Onomea Bay. Carbon fiber, 1.6 kg, folds to 22.6 inches.
Amazon Check Today's Price on Amazon →Step 1: Pick Your Day and Get There Early
Waterfalls photograph best on a day you would not pick for a picnic. Flat gray light means no blown highlights on the water and no harsh shadows in the ferns, and it means the white foam stays white instead of turning into a glowing blob. The windward side gives us plenty of those mornings, so I check the sky the night before and if it looks like rain I set my alarm anyway. Rain is not the enemy of this shot. Direct midday sun is.
Get there early for a second reason that has nothing to do with light. Long exposures collect people too. If someone walks through your frame during a two second exposure they become a soft smear of color, and if they stop to take their own photo you get a sharp elbow in an otherwise silky picture. The parking lot at Rainbow Falls fills fast on a Saturday, and the boardwalk at Akaka is narrow enough that one group with a selfie stick can end your morning. I try to be on the trail by seven and shooting by seven thirty.
Pack a microfiber cloth in your pocket, not buried in the bag. Every waterfall on this island throws mist, and mist lands on your front element in a fine film you cannot see until you open the files at home and find that every single frame is slightly fogged. I wipe between frames. That is the whole trick.
Step 2: Get the Camera Low
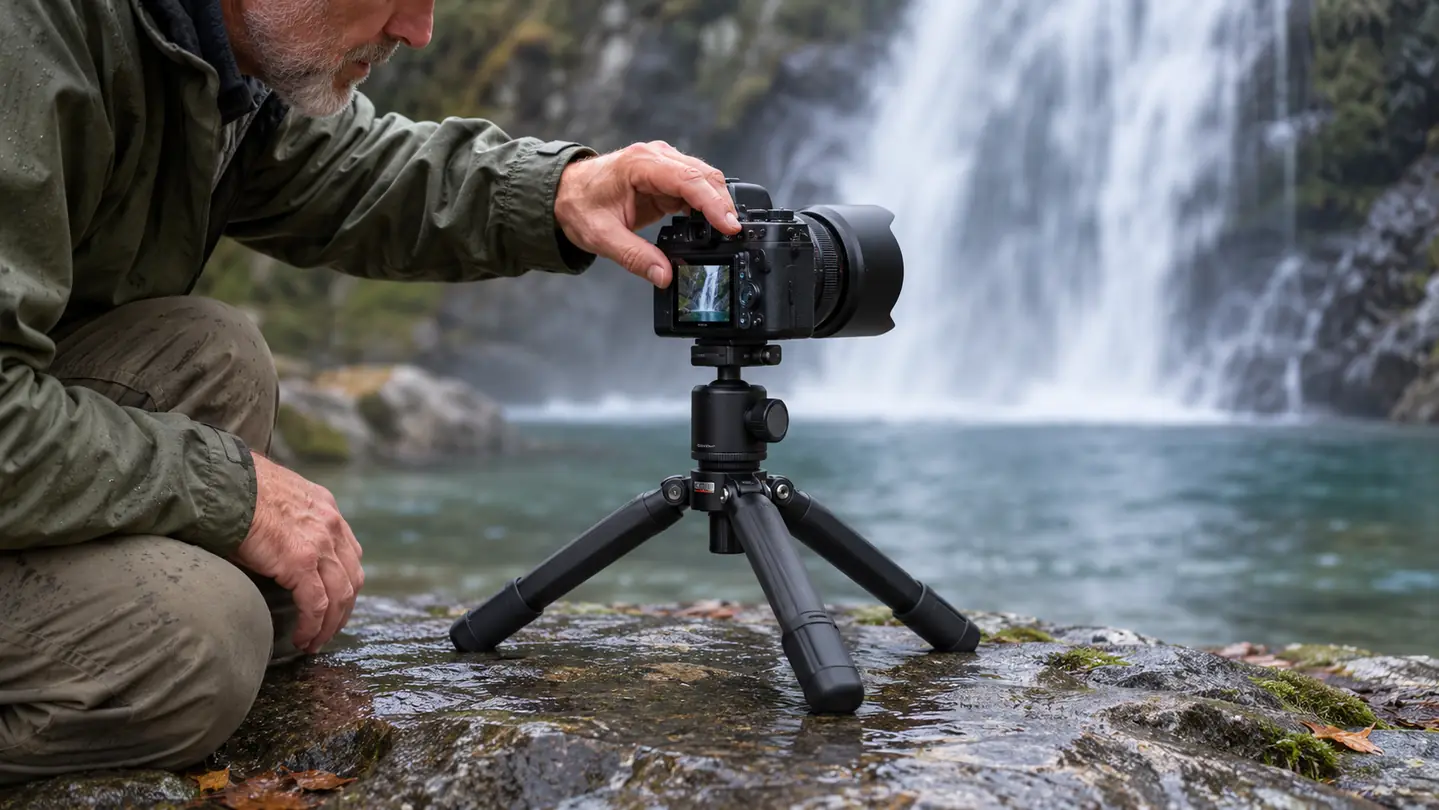
The Neewer N55C goes down to 57 centimeters, and that low height is worth more than any other setting for waterfall work. Get the camera down near the surface of the plunge pool and two good things happen at once. The water reads as a long horizontal ribbon instead of a distant stripe, and the frame picks up the rocks and wet leaves in the foreground that give the picture depth. Standing upright and shooting down at the falls is the phone photo. Getting low is the photograph.
To set the height, loosen a leg section, slide it out, tighten it, and work your way down the leg. There are four sections per leg, which is what lets the whole thing pack down as small as it does, and it also means you can set each leg to a slightly different length when you are standing on uneven rock instead of hunting around for flat ground. If you want the high angle instead, it will go to 168 centimeters, which is taller than I am and more than enough to shoot over a railing.
The tripod weighs 1.6 kilograms and folds to 22.6 inches, so on the trail I carry it by hand or over my shoulder on its strap. It does not fit in my sling bag and I have stopped trying to make it. A carry bag is included, and that bag lives in the hall closet, because a bag inside another bag is just extra weight. Over the shoulder is fine for the mile and a half in to the falls.
Step 3: Frame It, Then Lock the Head Down
Set the legs first, then the head. The ball head on this Neewer tripod has two locks and a 360 degree dial, and the reason I like that arrangement is that I can rough the framing in with the ball loose, lock it down, then use the dial for small left and right adjustments without fighting the ball all over again. If you have only ever used a pan and tilt head, give yourself one outing to get used to it. The ball moves in every direction at once, which feels loose and alarming the first time and then feels obvious forever.
Attach the camera, frame the shot a little wider than you think you want, then tighten. Then let go and watch the frame for five seconds. If it drifts, something is not locked. Usually it is the ball. Occasionally it is a leg section I only thought I tightened. Catching that at the railing is a much better outcome than catching it after twenty frames.
One of the legs converts into a monopod, which I have used exactly twice, both times on the coastal trail at Onomea Bay where I wanted the camera higher and did not feel like opening all three legs on wet rock. If you shoot birds with a long lens, that is the feature you will care about more than I do. For waterfalls it is a nice thing to have available.
Step 4: Dial In the Shutter Speed
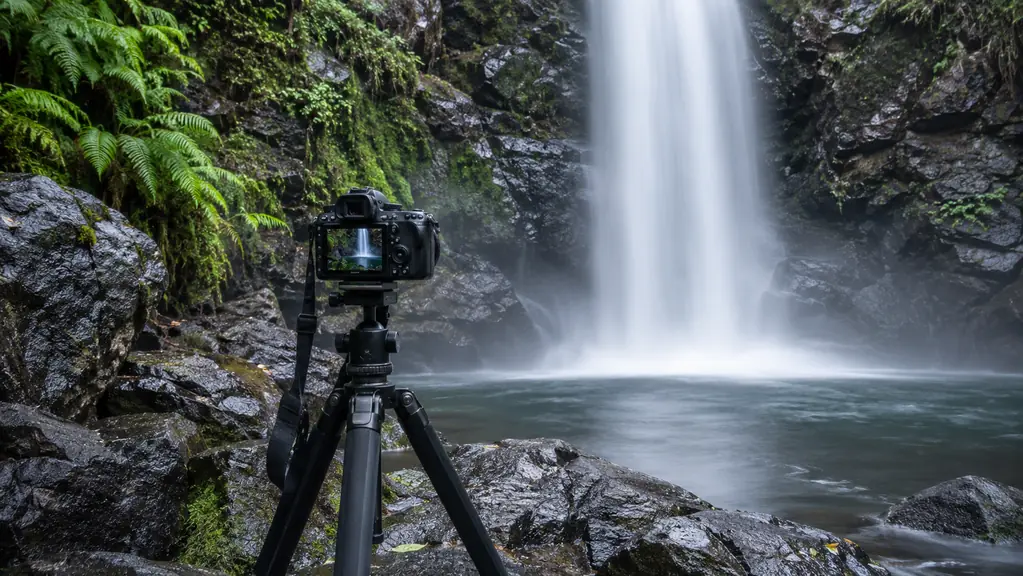
Here is the part that actually makes the picture. Start at half a second. At a quarter of a second you still have texture in the water, a fast rope with some shape to it. At one second the gaps start to close. At two seconds the fall turns into a smooth white column and the pool below goes soft and smoky. There is no correct answer, and anyone who tells you there is has not looked at many waterfalls. My own preference at Akaka sits near 1.3 seconds. I get there by taking four or five frames at different speeds and picking the one that feels right on the big screen at home.
To get a long shutter in daylight, you have to take light away somewhere else. I shoot at ISO 100 and stop the lens down to f/11 or f/16, which buys me maybe a third of a second on a bright day and plenty on a gray one. On a really bright morning even f/16 is not enough, and that is when people start talking about a neutral density filter. I own a six stop ND and use it maybe four times a year. It is a useful extra, not a requirement, and you can shoot silky water for a long time without one if you pick your mornings well.
Change one thing at a time and look at the back of the camera between frames. Zoom in on the water, not on the whole frame. That screen is small and the water always looks smoother on it than it does on your monitor. I have talked myself into some soft frames on that little screen and regretted it every time.
Step 5: Take Your Hands Off the Camera
Your hand on the camera is the last source of shake, so remove it. Every camera has a self timer. Set it to two seconds, press the button, and let go. The press settles the camera and the two second delay gives the whole rig time to stop moving from the tiny nudge of your finger. If your camera has an electronic shutter setting, use it as well. I have never needed a cable release for waterfalls and I do not own one.
Between frames, wipe the front element, check that mist has not crept onto the rear element, and refocus. Autofocus can hunt badly on a flat white wall of falling water, so focus on a rock at the edge of the fall at the same distance and then set the lens to manual so it stops wandering between frames. That one habit fixed more soft waterfall photos for me than any other change I have made.
Last, look down. Wet basalt is slick, and a tripod on slick rock with a two second exposure running is a good way to lose a camera. Set the legs on dry ground or in a shallow stable spot, keep one hand loosely on the strap until the exposure finishes, and do not step backward to admire the view without knowing where the edge is. I once watched a stranger's tripod go into a pool at Rainbow Falls. It made a sound I still think about.
What Else Helps
Two small things made almost as much difference as the tripod itself. The first is a rain sleeve. I bought a two pack of OP/TECH Rainsleeves in January 2025 after a wet Saturday at Rainbow Falls where I spent more time drying the camera than shooting with it. It is a plastic sleeve with a drawstring and an opening for the lens, it lives folded in the front pocket of my sling bag, and on a misty morning it is the difference between shooting for an hour and shooting for ten minutes.
The second is a cleaning kit. I spent two years wiping lenses on my shirt hem, which is a fine way to smear oil across the glass and then wonder why nothing is sharp. The Altura kit I bought in August 2024 has a blower and a couple of microfiber cloths that live in the bag, with the rest of it in a drawer at home. Blow first, wipe second, and never wipe grit off dry glass.
The rest is patience and shoes you do not mind getting wet. None of this is difficult. It is a sequence: get there early, get low, lock everything down, open the shutter long enough, and do not touch the camera while it is working. The first time you pull a two second frame up on the monitor and the water looks like brushed silk, you will understand why people carry a tripod up a trail at seven in the morning.
A quarter of a second gives you a hard white rope. Two seconds gives you silk. The only thing between those two photographs is 1.6 kilograms of carbon fiber and a two second timer.
The tripod that lives in my hall closet and goes to every waterfall with me
Four leg sections, ball head with two locks and a 360 degree dial, 57 centimeters at its lowest and 168 at its tallest. Mine has been on wet rock for twenty months without a complaint.
Amazon Check Today's Price on Amazon →