
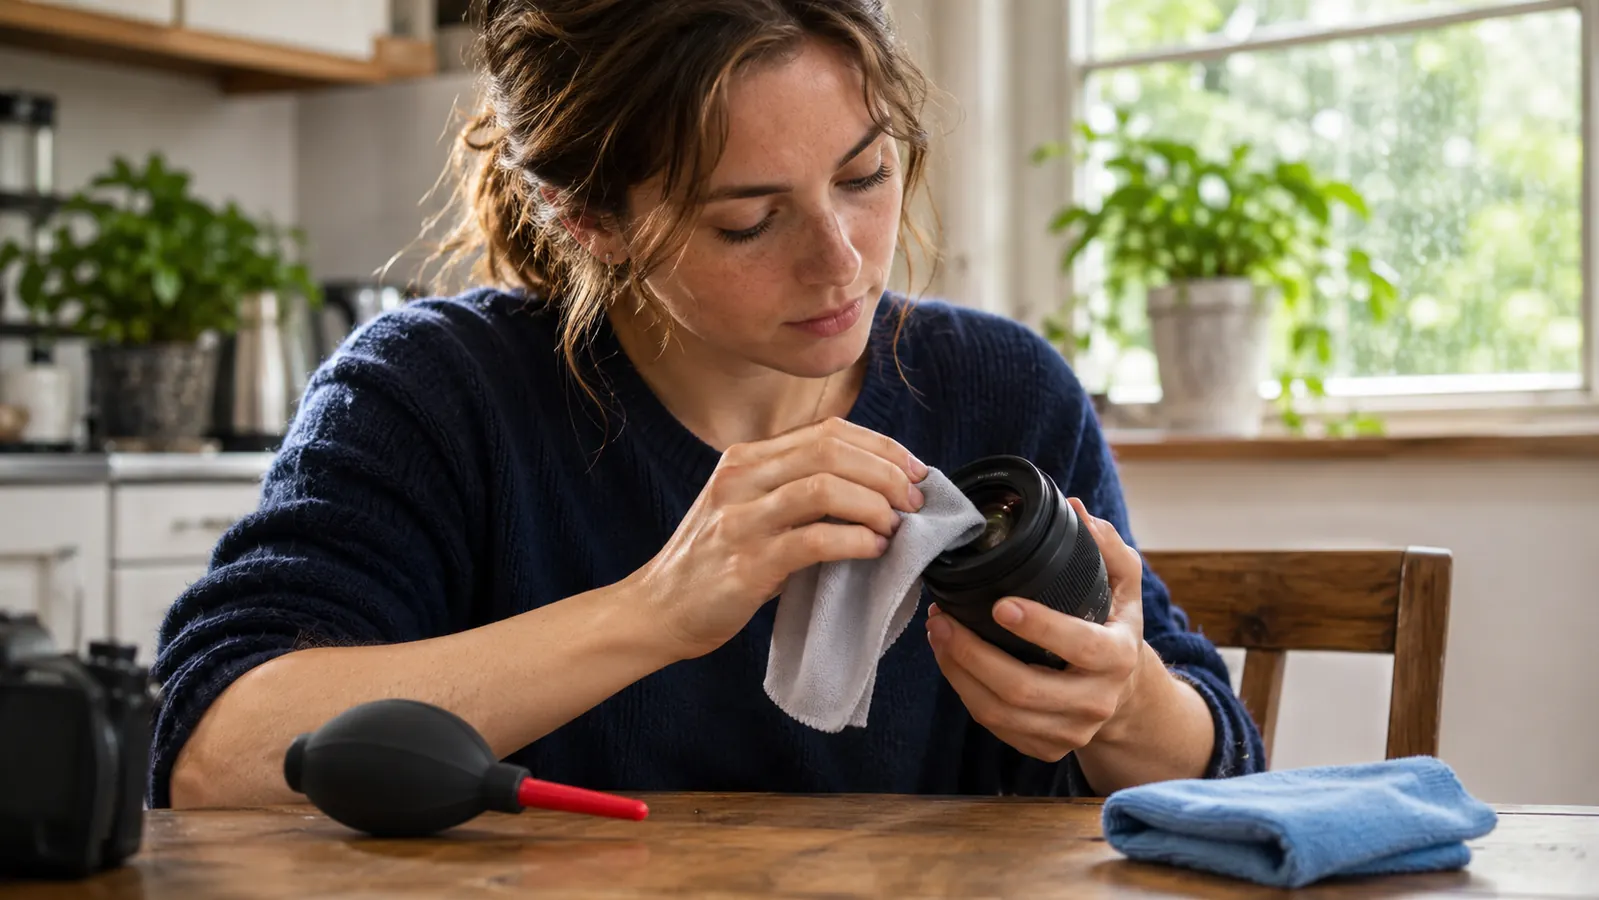
The fog shows up at the worst moment. You park at Onomea Bay, step out of the air-conditioned SUV into air that feels like a warm washcloth, lift the camera, and the front element goes milky before you can frame the shot. Then instinct takes over. You breathe on it, wipe it on the hem of your shirt, and watch a little condensation turn into a streaked mess you will be fixing in editing later.
I shoot in Hilo, on the windward side of the Big Island, where rain arrives four times before lunch and the humidity never really leaves. Two years ago I bought the Altura Photo camera lens cleaning kit for exactly this problem, and it has lived in my bag ever since. The kit holds a 56.7 ml spray bottle of alcohol-free, ammonia-free lens cleaner, a brush, a lens pen, an air blower, and a microfiber cloth. It will not stop fog from forming. Nothing in a kit will. What it does is give you a controlled way to clear the glass once the fog lifts, and to lift salt film and fingerprints without grinding grit across the coating.
Before the kit, my method was a rotation of bad ideas. A shirt hem, a paper tissue, the inside of my jacket. All three smear a wet lens, and the tissue leaves lint that looks like dust until you zoom in. The kit did not make me a better photographer. It made me stop making the lens worse while I waited for the weather to change.
The kit I reach for when the glass fogs at the trailhead
Two years of Hilo humidity, one kit, and a front element that still passes the flashlight test. The blower and cloth ride in my sling bag; the rest stays in the desk drawer at home.
Amazon Check Today's Price on Amazon →Why Fog Turns Into Smears
Condensation is water, not dirt, and water on a lens is harmless if you leave it alone. The damage happens in the second step, when a shirt hem drags across a wet surface. Fabric lifts dust and salt from the rim, the water carries it across the glass, and the pressure of your hand presses it in. That is how you get the fine scratches that show up later as flare in backlit shots. I learned that one the expensive way, on a used 50mm I no longer own.
The other trap is over-cleaning. A lens that fogs every ten minutes does not need ten cleanings. It needs time to match the air temperature. Once I understood that, the kit stopped being something I used constantly and became something I used deliberately, maybe twice on a wet Saturday and once at home afterward.
Here is the sequence I use, in the order I use it. It takes about five minutes the first time and closer to two once it becomes a habit.
Step 1: Let the Lens Come to the Air Before You Touch It
A cold lens in warm, wet air is a drinking glass with a built-in fog machine. The camera comes out of an air-conditioned car or a cool hotel room, the glass is below the dew point, and moisture condenses on the front element within seconds. Wiping it off just brings more moisture to the surface, and the cloth picks up whatever was sitting on the rim.
So the first step is no step at all. Leave the camera in the bag, or take it out and set it on the table with the cap off, and let it sit for ten to fifteen minutes. In Hilo I give it twenty on a bad day. The fog will clear from the edges inward on its own. Patience here saves you the whole rest of this process, and it is the step people skip because it feels like doing nothing.
If I am at a trailhead and in a hurry, I keep the camera in the sling bag with the top open and let it acclimate while I look at the light and decide what I am shooting. By the time I lift it, the glass is usually clear. If it is not, I wait. A soft frame is better than a scratched lens, and I have never once regretted the ten minutes.
One more thing about this step: do not rush it with heat. I have seen people hold a fogged lens over a car vent or breathe hard on it to warm it up. That adds moisture instead of removing it, and it can push a little water into the seam around the front element. The air is already doing the job. Let it.
Step 2: Blow the Loose Stuff Off First
Once the glass is clear, the first thing that touches it is air. The blower in the Altura Photo kit is the least dramatic tool in the bag and the one I use most. Hold the camera with the lens pointing down and squeeze the bulb a few times away from the glass to clear any dust from the nozzle, then work around the surface in short puffs.
Pointing the lens down matters because gravity does half the work. Loose dust, pollen and dried salt fall away instead of settling back on the glass. I do this at the car before I put the cap back on, and again at home before I put the camera away. It takes about fifteen seconds and it removes most of what would otherwise end up on the cloth.
Do not use your mouth. I know it is right there and it is free, but breath carries moisture and tiny droplets of saliva, and on a humid day you are adding back exactly what you just waited fifteen minutes to get rid of. I have watched people do this at waterfalls and then wonder why the glass looks worse afterward.
Step 3: Brush, Then Spray the Cloth, Never the Glass
If the blower leaves anything behind, the brush comes next. The brush in the kit is for loose material only, not for scrubbing. Two or three light passes from the center outward, then a look at the glass under light. If the surface still has a film on it, that is when the liquid comes out.
Spray the cloth, never the lens. Two pumps onto a folded section of microfiber is plenty. A direct spray on the glass can seep around the front element and leave residue inside the barrel, and no cleaning kit can fix that. The Altura Photo solution is alcohol-free and ammonia-free, which matters on modern coatings, and it has no odor, so it does not leave the camera smelling like a clinic.
The microfiber itself is the part people underestimate. One cloth, folded into quarters, gives you eight clean surfaces. Use one, turn to the next, and stop when they are all used. A cloth that has been in a pocket with keys is a piece of sandpaper with a soft reputation. I keep one in the sling bag and the rest in a zip bag in the desk drawer, and I do not mix them.
Two pumps is not a suggestion to use more if the lens looks bad. More liquid does not clean better. It just takes longer to flash off and gives you a wet surface for dust to stick to while you work. If the first pass does not do it, use a fresh section of cloth, not another pump.
Two years of Hilo rain and the front element of my everyday zoom still passes the phone-flashlight test, with the blower doing most of the work.
Step 4: Wipe Once in One Direction, Then Check in Raking Light
With a damp section of cloth, wipe once from the center to the edge, then lift. Do not scrub in circles. One direction, light pressure, then a fresh section of cloth for the next pass. Circles feel efficient and are how people leave swirl marks on a coating.
After each pass, tilt the lens toward a window or hold your phone light at a low angle. Raking light shows the film and the streaks that straight-on light hides. When the glass looks clean from the side, stop. Cleaning past that point is where most damage happens, because the surface is already clean and every extra pass is just friction.
For the edge where the element meets the barrel, the lens pen in the kit is useful. The pad reaches the curve without forcing the cloth into the seam. I use it maybe once a month, usually after a windy day at the Hilo Farmers Market, when there is a fine layer of dust on everything.
Check the back element too, but only after the front is done and your hands are clean. The rear glass is closer to the sensor and shows every smudge in the final file. I use the same blower first, then a dry section of cloth, and I never spray anything near the open mount.
Step 5: Dry the Kit Before It Goes Back in the Bag
The last step has nothing to do with the lens and everything to do with the next fogging. A damp microfiber folded back into a closed bag in Hilo is a small, dark, humid room. It grows things. I spread the cloth flat on the desk overnight, squeeze the blower bulb a few times to push out moist air, and leave the kit open until morning.
The spray bottle stays capped and upright. The brush gets a tap on the edge of the desk to knock out dust. Then everything goes back in the case, and the case goes back in the drawer, not the bag, unless I am shooting the next morning. The kit has a place, and the place is dry.
Twice a year I wash the microfiber cloths with a fragrance-free detergent and let them air dry. No fabric softener, ever. Softener coats the fibers and turns a cleaning cloth into a smearing cloth, which is the opposite of the job.
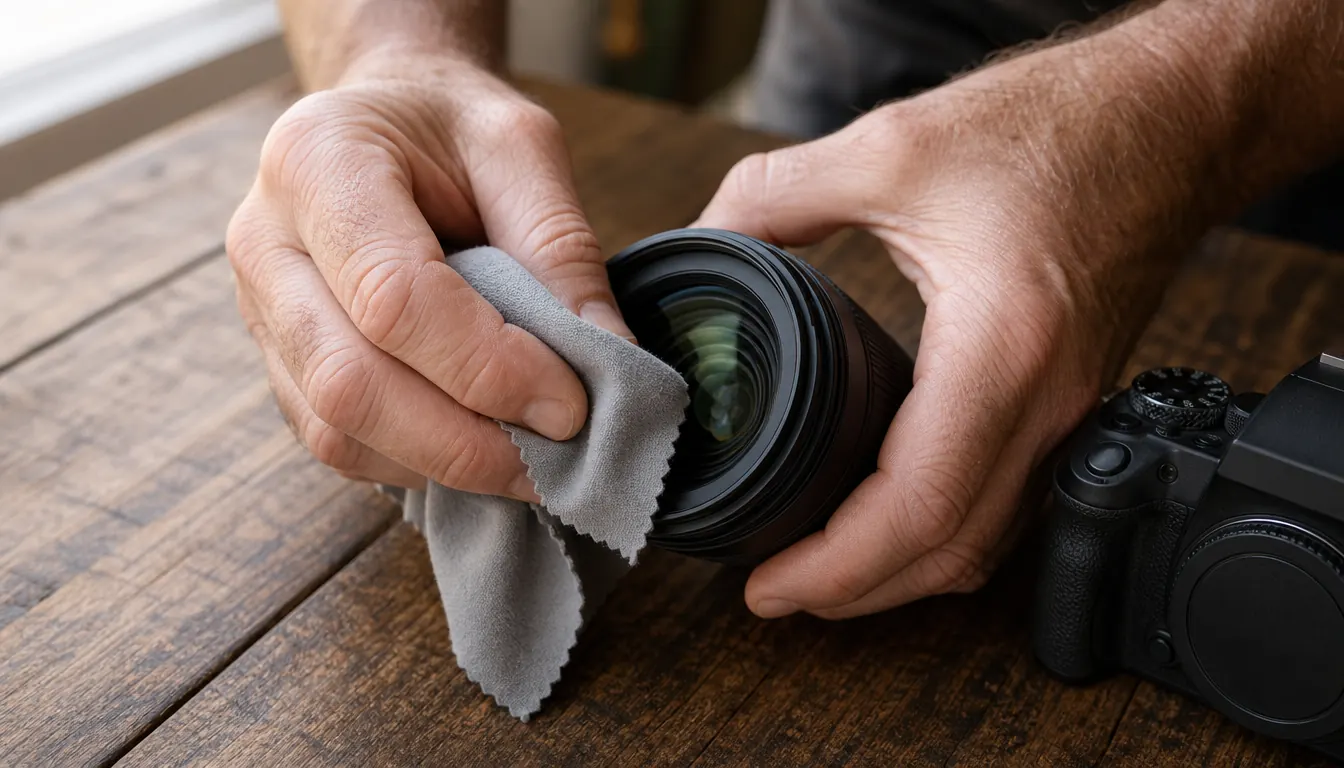
What Else Helps
Acclimation is the real fix, and a few habits make it easier. I keep the camera in the sling bag when I get out of the SUV instead of hanging it around my neck, so the glass warms up slowly instead of all at once. I park in the shade at trailheads when I can. And I give the camera ten minutes in the bag before I even take the cap off.
A rain sleeve helps on the days when fog and drizzle arrive together, because it keeps the front element from collecting new moisture while the rest of the camera warms. I keep one folded in the front pocket of the bag. It is not a substitute for patience, but it buys time, and on a wet morning at Rainbow Falls that is worth a lot.
A lens hood helps too. It keeps rain off the glass and gives your hand something to hold that is not the front element. I use one on the 24-105mm almost all the time now, and it has saved me more cleanings than any cloth.
The other thing that helps is knowing when to stop. If the glass fogs every time you raise it, the camera is still colder than the air, and no cloth will change that. Put it away, let it sit, and shoot something else for a while. Pika, my gray tabby, is usually willing to sit in the window and be a subject while I wait.
None of this is complicated. The kit is not doing anything fancy. It is just a spray, a brush, a pen, a blower and a cloth, arranged so that you do the steps in the right order. The order is the part that matters, and the order is free.
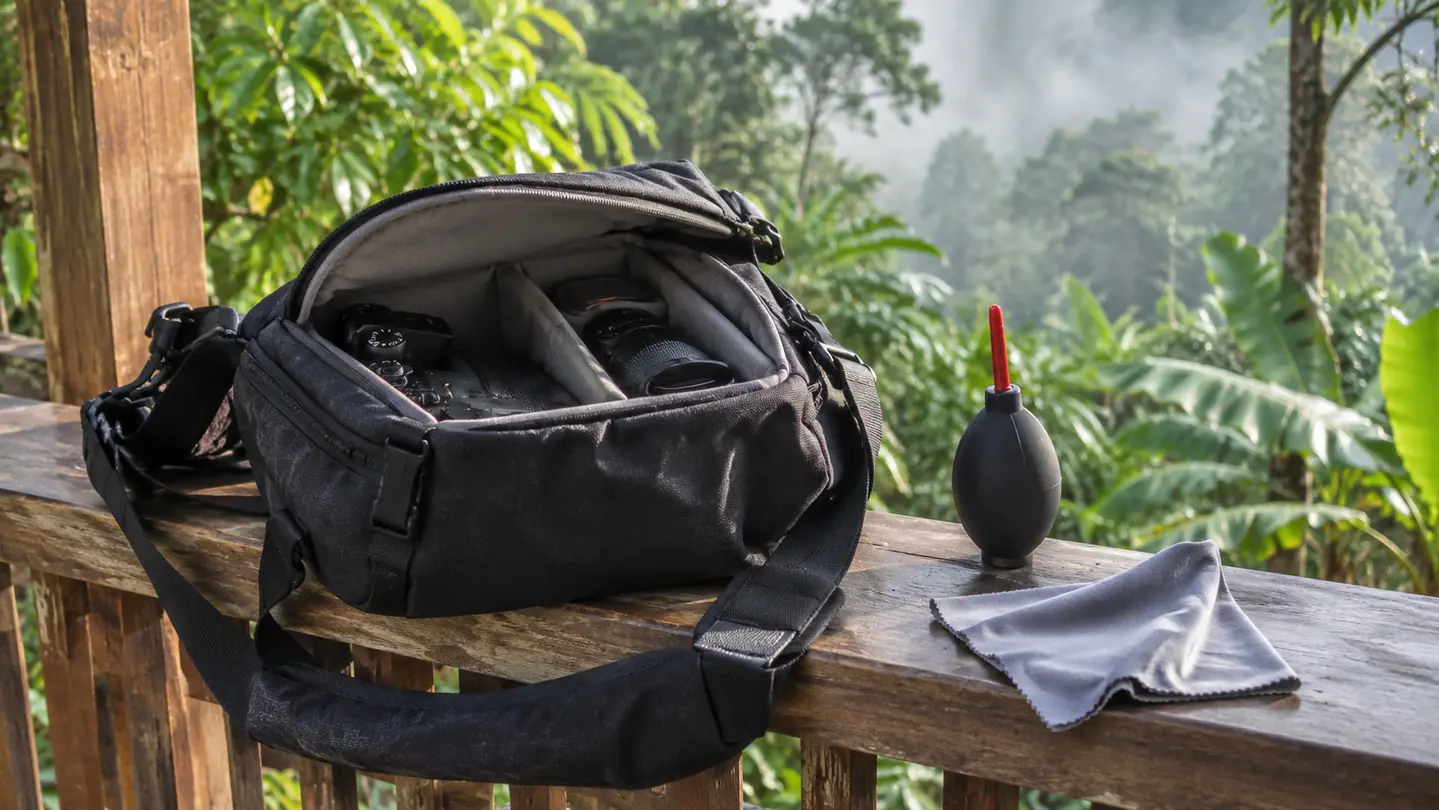
The Two-Minute Version
When I am standing in the rain and do not want to think, the routine collapses to this. Let the glass clear on its own. Blow it off with the lens pointed down. Brush once. One pump on a folded cloth, wipe from the center out, check it in the light, and stop. Then leave the cloth out to dry when I get home.
That is the whole thing. It works on the 24-105mm, it works on the 70-300mm after a morning of chasing birds at Liliuokalani Gardens, and it works on the front element of a camera that has been in and out of a warm car all afternoon. The only part that changes is how long I wait at the start.
If your lens fogs more than once a month, keep the tools in the bag
The Altura Photo kit is the one I have used for two years in the wettest place I shoot. Blower first, cloth last, and let the glass come to the air before either one touches it.
Amazon Check Today's Price on Amazon →